

This is a super quick intro to the Azure Storage Explorer. I use it pretty much every day for a variety of tasks across design, development, devops and business administration of business systems so I am confident it will be a useful tool in any Microsoft users toolset.
It is a free, supported Microsoft tool. Now let’s get started.
What is the Azure Storage Explorer?
The Storage Explorer is a tool to access Storage Accounts linked to an Azure Subscription. It allows you to create containers, mass upload and download content, create and manage SAS token and CORs so all in all, pretty handy! It’s also more user friendly and intuitive than your standard Azure GUI.
To download, head over to the summary page here and click download.
To install, just run the executable you downloaded and follow the installer instructions.
Add an Azure Storage Account
To work with your account, it does need to exist in Azure already. There is not a provision to create the account itself within the Explorer.
In the Explorer click the plug icon (third in the left hand nav menu) and select ‘Add an Azure Account’ from the prompt.
Note: If you arent the owner of the Storage Account and are working with a blob container for a client you can select a different option, like ‘Use a shared access signature (SAS) URI’ to work with individual components.
Assuming you select Account, it will prompt you to login and then it will automatically pull through the linked Storage Account and all the stuff you have permission for within it.

In the Explorer pane, you will see a Key icon to denote different subscriptions you are entitled to. You can use this to manage different client accounts of projects you’re working on.
As you can see, you can expland the different types of storage, from Blobs, Tables, Queues, CosmosDb and Disks to get access to the stuff you are working on.

Generate a Azure Blob SAS token
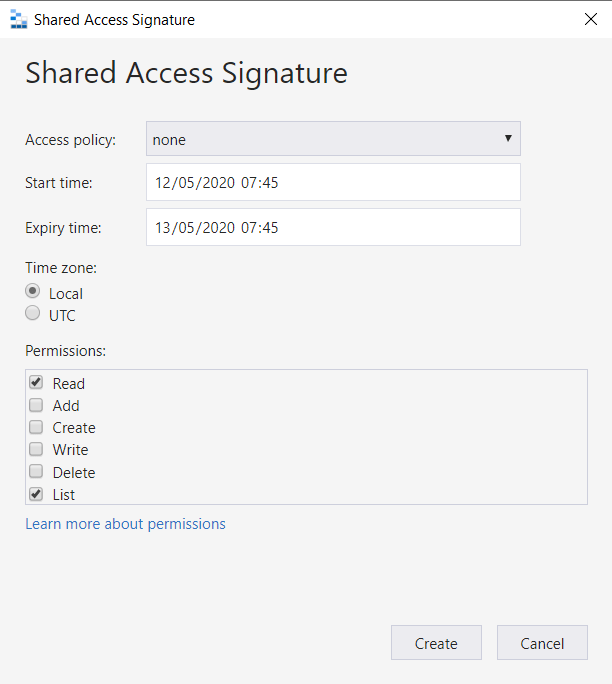
Getting SAS tokens for blobs is a pretty common activity and this is a super easy way to get a SAS token.
Just expland to your container in the Explorer pane, right click and select ‘Get Shared Access Signature’. This opens an prompt where you can configure the details of the token, apply predefined access policies, expiration date and permissions. You can do this for an individual item or for the container itself.
Summary
That’s all for now about Storage Explorer. This demo was a high level introduction to the tool and how to get it setup and working for use in other demos! If there is other stuff you want to see or know about just let me know!
