


In this blog post, we will take a look at the basic steps to set up and work with Azure Functions using Visual Studio. We will be using the in-built scaffolding so no coding required for this one but some experience of Visual Studio and c# wouldn’t hurt.
Setting up the environment
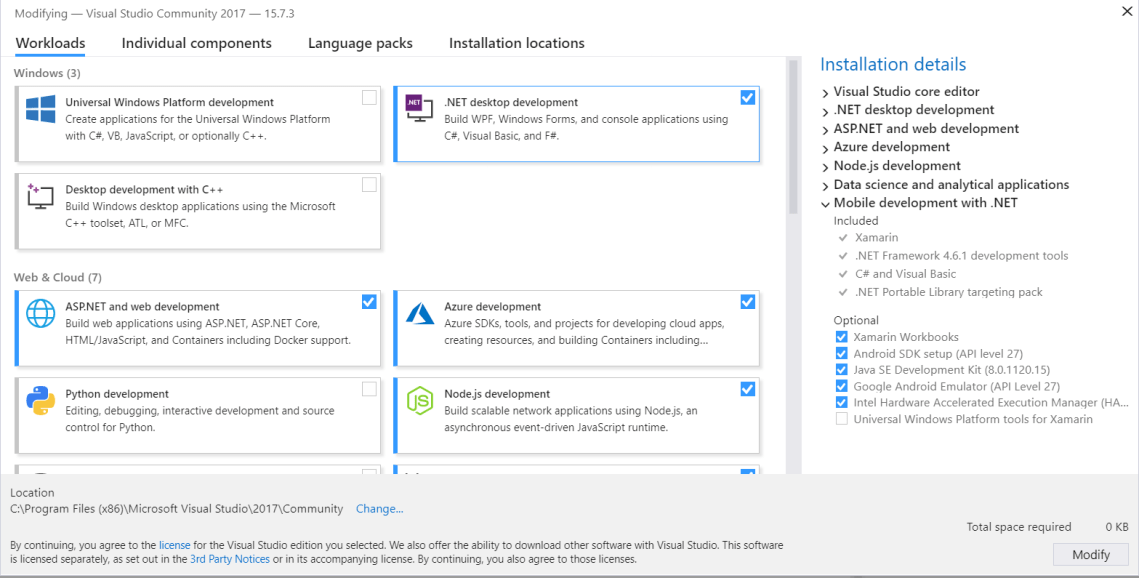
If you don’t already have Visual Studio (VS), you can grab the community (free) edition over here. When you install it, make sure you select ‘Azure development’ as shown in the screenshot below and then make sure you have the ‘Azure Functions and Web Job Tools’ installed as an extension. You can check this from the main VS window under the Tools heading and ‘Extensions and updates’.
Once you’ve got these all installed, we can get started.
Note: at the time of writing this, I am using Community 2017, version 15.7.3 and what you see could be different if you are using a different version.
Creating a new Azure Function
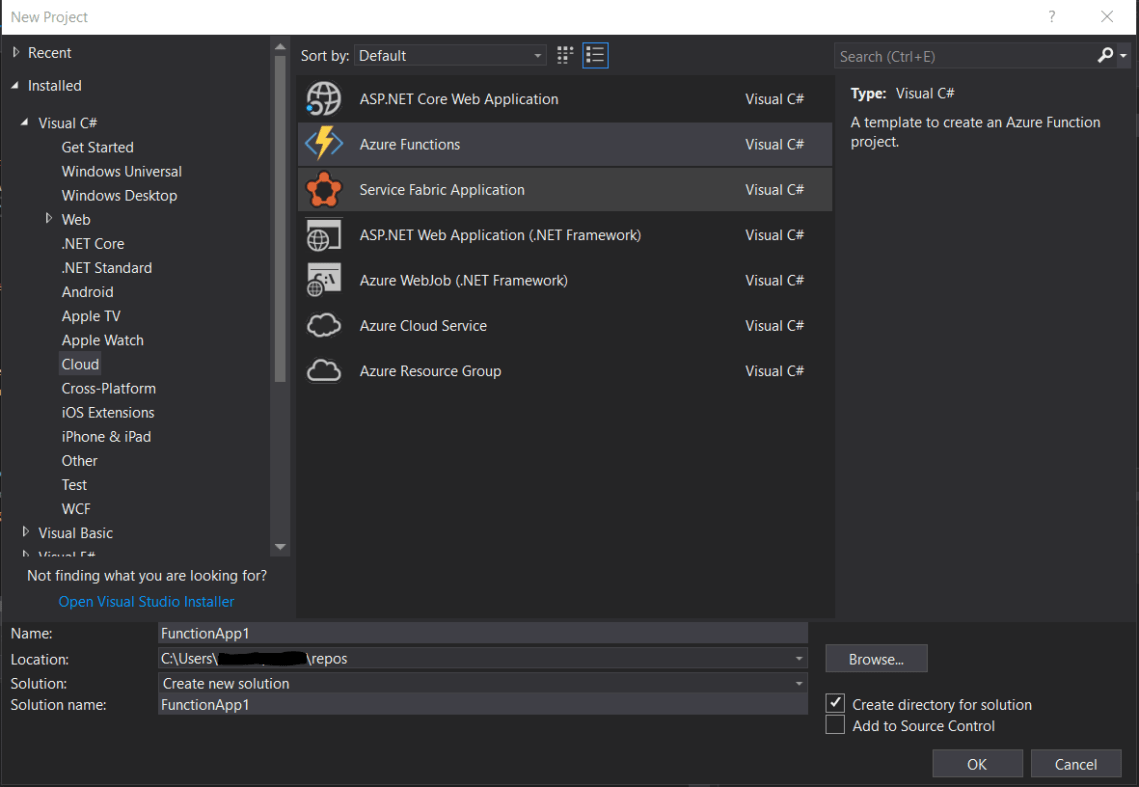
First off, let us create a new project by using File>New>Project. This gives you the normal dialog for project type, and we will be selecting ‘Cloud’ in the right-hand menu with ‘Azure Functions’ as our type. We’ll leave the project name for now, but feel free as this is just a scaffolding example.
This will give you a new dialog to fine-tune your selection. You can change your version at the top, with options for either v1 (.Net Framework) or v2 (.net Core) and we will stick with Core in order to keep it as friendly as possible for deployment.

A staple of Web Development is using APIs, so go ahead and select ‘Http trigger’ so that we can set up something that will feel instantly familiar when we run it later.
On the right, we have a couple of finer controls. Storage Account can be set up to work with your actual Azure environment, but to avoid any fees whilst we develop and to facilitate easier debugging, we will stick with ‘Storage Emulator’. This lets us run locally, without needing a real account just yet.
Access rights are really important for any Web API and come in three forms.
Function – is the default and requires a secret or key to be sent with the request in order to have it fulfilled.
Anonymous – requires no keys, anyone can call it.
Admin – the same as Function in that it is key based, but allows you to authenticate against a higher permission key.
We will select Function for this demo as this is pretty standard for all Web APIs.
Taking a look at the code
It will take a few seconds to create and if this is your first function, NuGet will likely need to sort out its packages as well so be patient. When it is all loaded you will see your ‘Function1.cs’ file loaded into the screen, so let us take a look.
First, let us check out the files. Nice and simple, you have a .cs file for your function, a host.json file (which is empty) and a local.settings.json.
The local.settings.json file is for your local development. Most changes you make here will work great on your machine, but will require additional configuration in the Azure Portal if you wanted to go live (like CORS and connection strings etc).
The function itself is nice and simple. It accepts a HttpRequest and a Tracewriter and outputs an ActionResult. It uses JsonConvert to deserialize the request body and then does a simple check for ‘Name’. If it finds it, it returns ‘Hello – name’ and if it doesn’t, it returns a Bad Request response.
A few things to note though.
It uses attributes to mark up the function, so the method ‘Run’ is actually called ‘Function1’ as seen by the FunctionName Attribute on line 14. The name of the method itself is seemingly unimportant.
On line 16 we can see the HttpRequest also has some attributes and these are linked to the options we selected when we created the project. The Authorization Level is simply an enum so it is super simple to set up. We then have the methods we accept, which in this case is ‘get’ and ‘post’ and the route, which as it is null will be the default routing (api/functionname ie api/function1).
Action – on line 16, change the AuthorizationLevel.Function to Authorization.Anonymous. This will make it super simple for us to test in a minute.
Running the code
To run the code, simply press F5 or Debug>Start Debugging. It will take a few minutes to start up the necessary processes but when you do, you should see a console window like below. In this time, it has compiled your functions into a DLL and is now ready to call them.
As you can see, it has found our function and set it up on our host, ready to be called. So pop over to a browser and enter the URL as seen in your own console window and you’ll see a couple of things happen. Firstly, you will get the ‘Bad Request’ response because you didn’t provide a name value, but you’ll also see the events logged in your console window which is great for debugging more complex functions.
Add ‘?name=David’ to your URL and see the magic happen!
Demo: Summary
So, there you have it. With no modifications, we can see how easy it is to create an azure function in Visual Studio and test it in our local environment. The possibilities for this are quite exciting because in no time at all we have a functioning web api (locally) that has the power of the server behind it, with no need for a server at all. The business applications for this are really powerful as if it lives up to the hype, will genuinely mean quicker sprints to deployment with lower ongoing runtime costs. Pretty exciting if you ask me!
Next demo is to publish this project and get it running in a real Azure environment – so check back soon!

4 Comments